Home automating is a beneficial change for our way of living. However, many people are reluctant to make the transition from the classic home to the smart home for various reasons.
Among these we can include the fear of engaging in something far too complicated or that might require assistance from a specialist. You don’t have to worry anymore! There are now gadgets on the market that are so easy to use: you will be amazed!
One of these devices is the Shelly Wi-Fi Temperature and Humidity Sensor.
What does the Shelly Wi-Fi Temperature and Humidity Sensor do ?
The Shelly H&T sensor monitors changes of the temperature and humidity and easily connects to your Wi-Fi network.
- you can track the values registered in the application cloud;
- you have access to useful charts by day / week / month / year;
- you receive alerts when too low / high values of temperature and humidity are noticed.
Step 1: Installation
Download and install the Shelly Cloud app from here:


Step 2: Create an account in the app, if you don’t already have one.
Step 3: After authentication, create a room (where you will mount the Shelly sensor).
You can create as many rooms as you want, but a device cannot appear in more than one room at a time.
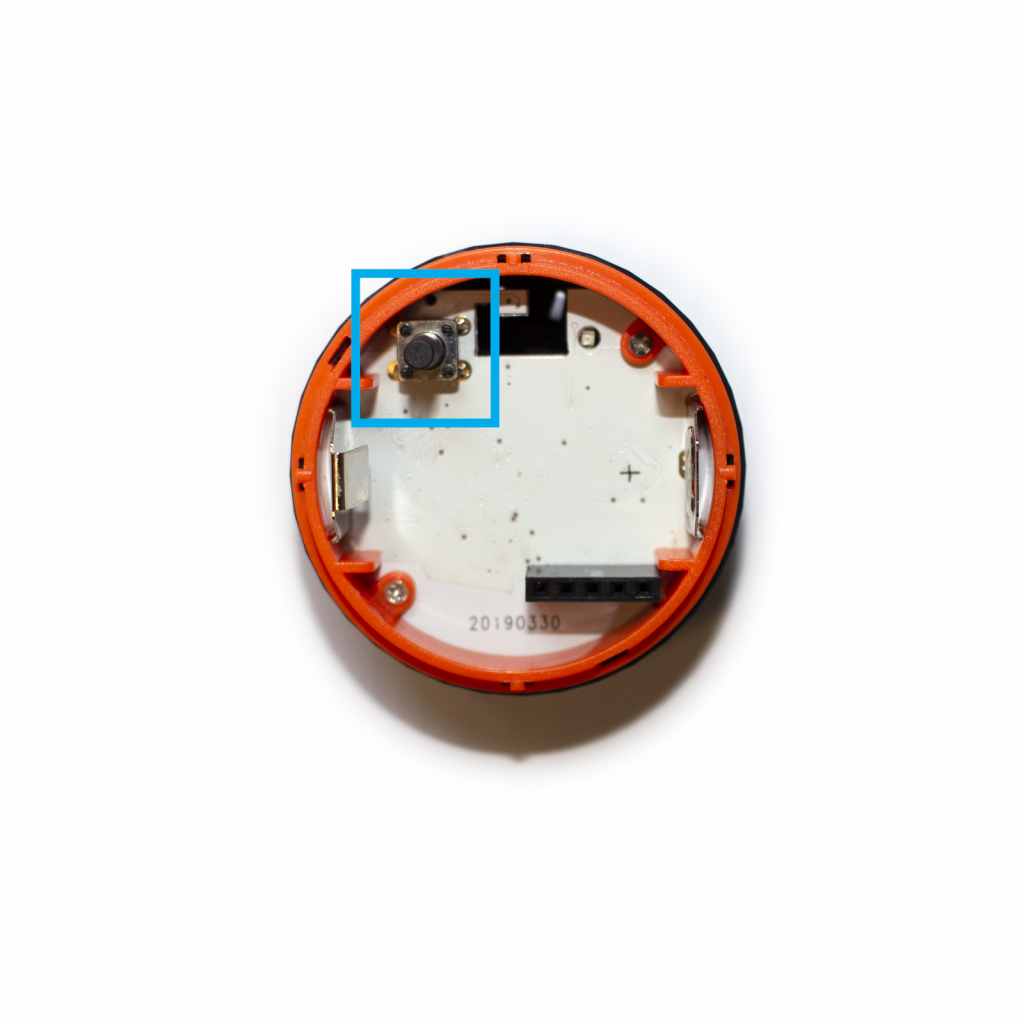
Step 4: Connect the H&T Sensor
Place the H&T sensor in the room you want to monitor. Insert a CR123A battery, then press the button situated inside the device. The LED inside should pulse slowly.
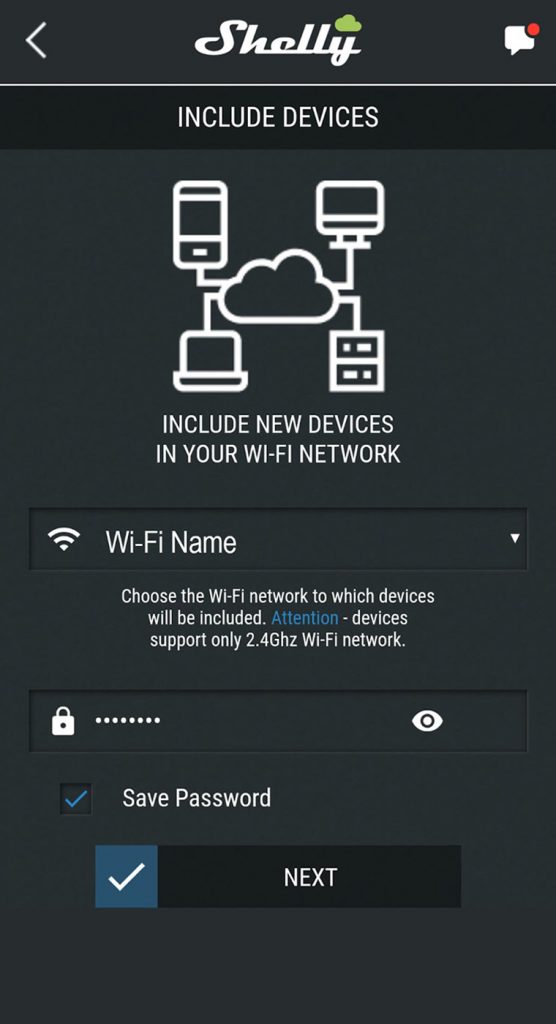
Choose the option “Add Device”.
Enter the Wi-Fi network name and password in the application.
If you are an iOS user, you will have to choose the device type, then open the phone settings in the ‘Wi-Fi’ section and choose the network created by the Shelly device.
After adding the device you will receive a confirmation notification that will be displayed at the top of the screen.
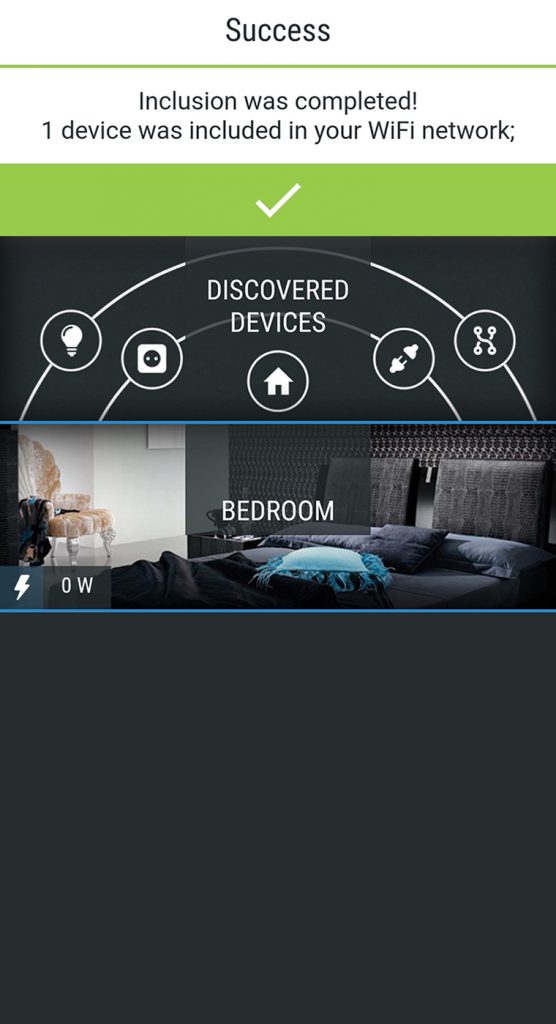
Step 5: Add the sensor to the created room
After connecting the device to the local Wi-Fi network, add it to the desired room (accessing the camera and clicking on “Add Device”).
The sensor will appear shortly in the Discovered Devices section. Choose the device and press the ‘Add selected devices’ button, choose a name to make it easily recognizable and click on “Save Device”.
If you choose to connect the sensor to the Shelly cloud, you will be able to monitor the temperature and humidity even when you’re away from home.

We wish you good luck in automating your home!
If you find this information useful, join the myL2 Tutorials facebook group and we’ll keep you updated with new guides every week.
You’re also invited to the Offers and Discounts facebook group, you will be the first to know about our promotions and offers!